After fixing the hole in the exhaust I went back to CT on Thursday May 27 for what I thought would be the final check. The mechanic lifted the Jeep up looked around with the engine running, then started looking toward the middle and rear of the exhaust system. Finally he called me out to explain that the leak was mostly gone, however he found a small tear in the main exhaust pipe where one of the hangers was welded on. He said he could not safety it with that hole, but suggest I could get an exhaust shop to weld it quickly. Although I had already used up my alloted re-check for the safety, the mechanic implied if I came back soon he would check it again.
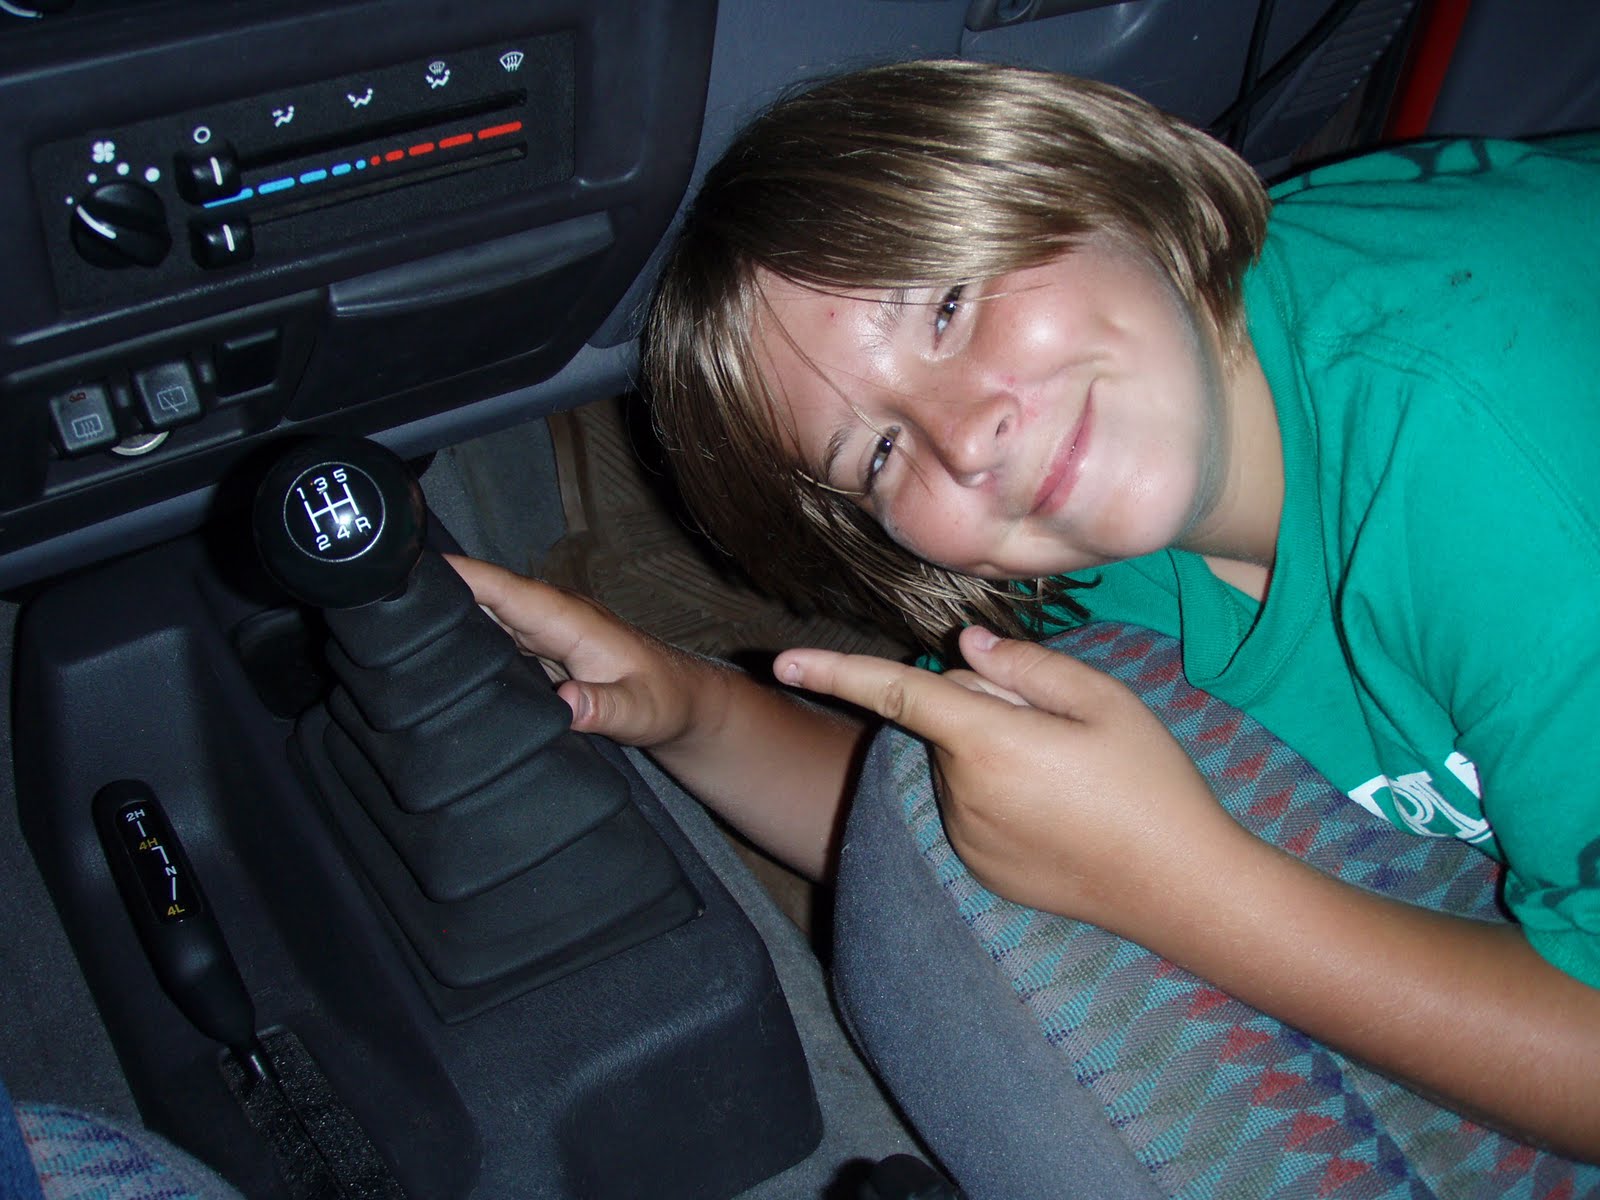
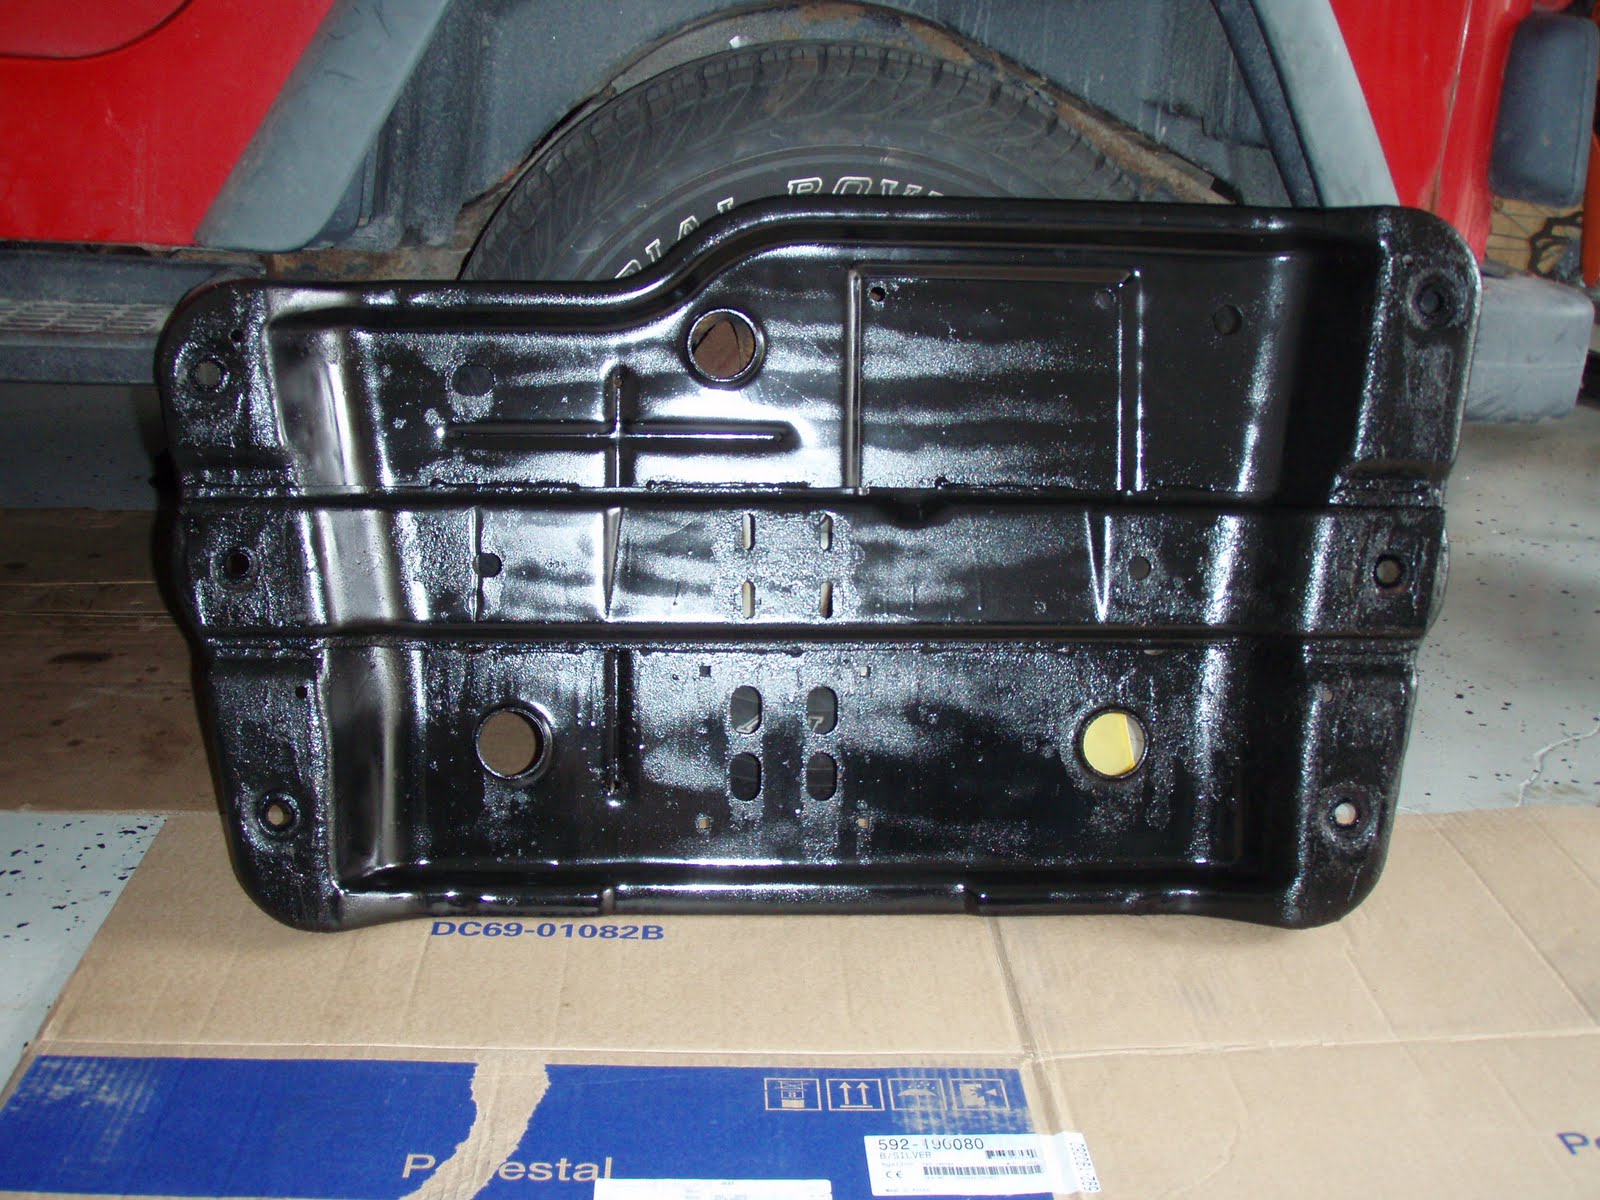
So, home we went to try and weld it ourselves, with the nice Lincoln Electric welder I purchased in Jan, in anticipation of welding on the Jeep. At home we discovered that the rip was on top of the skid plate that holds up the transmission. So the skid plate had to come off first. Jason helped me jack up the Jeep and secure it on stands, then secure the tranny on a stand, then remove the large skid plate from the tranny and frame. Once the rip was cleaned up I got out the welder. Only then did I realize the welder cord and gun were 3' too short. Damm. Being 31c outside and under the gun for time, I was not happy. We had to reinstall the skid place, lower the vehicle, back it up 4', rejack it up, remove skid plate etc. Then I had a chance to weld and it turned out quite nice. Finished welding, put the Jeep back together and headed back to CT.
Finally the mechanic was happy and passed the Jeep. The next day I transfered the ownership, got a new plate and insurance. Then the boys and I tried out the Jeep on a real ride to Charles' and then to the YMCA to pick up Jason from TKD.
Now I'm taking a little break before we tackle the broken nutserts on the frame........