Sunday, August 22, 2010

A couple of small things


It's been a busy summer and hence little work on the Jeep. The boys and I have however logged a few km's with the roof off. Fun.


We did do a couple of small items on the Jeep, like applying touchup paint to a few chips and the rusty bolt on the hood (that's for you Michael), and cleaning up the rust and spraying some undercoating on the rear of the Jeep.


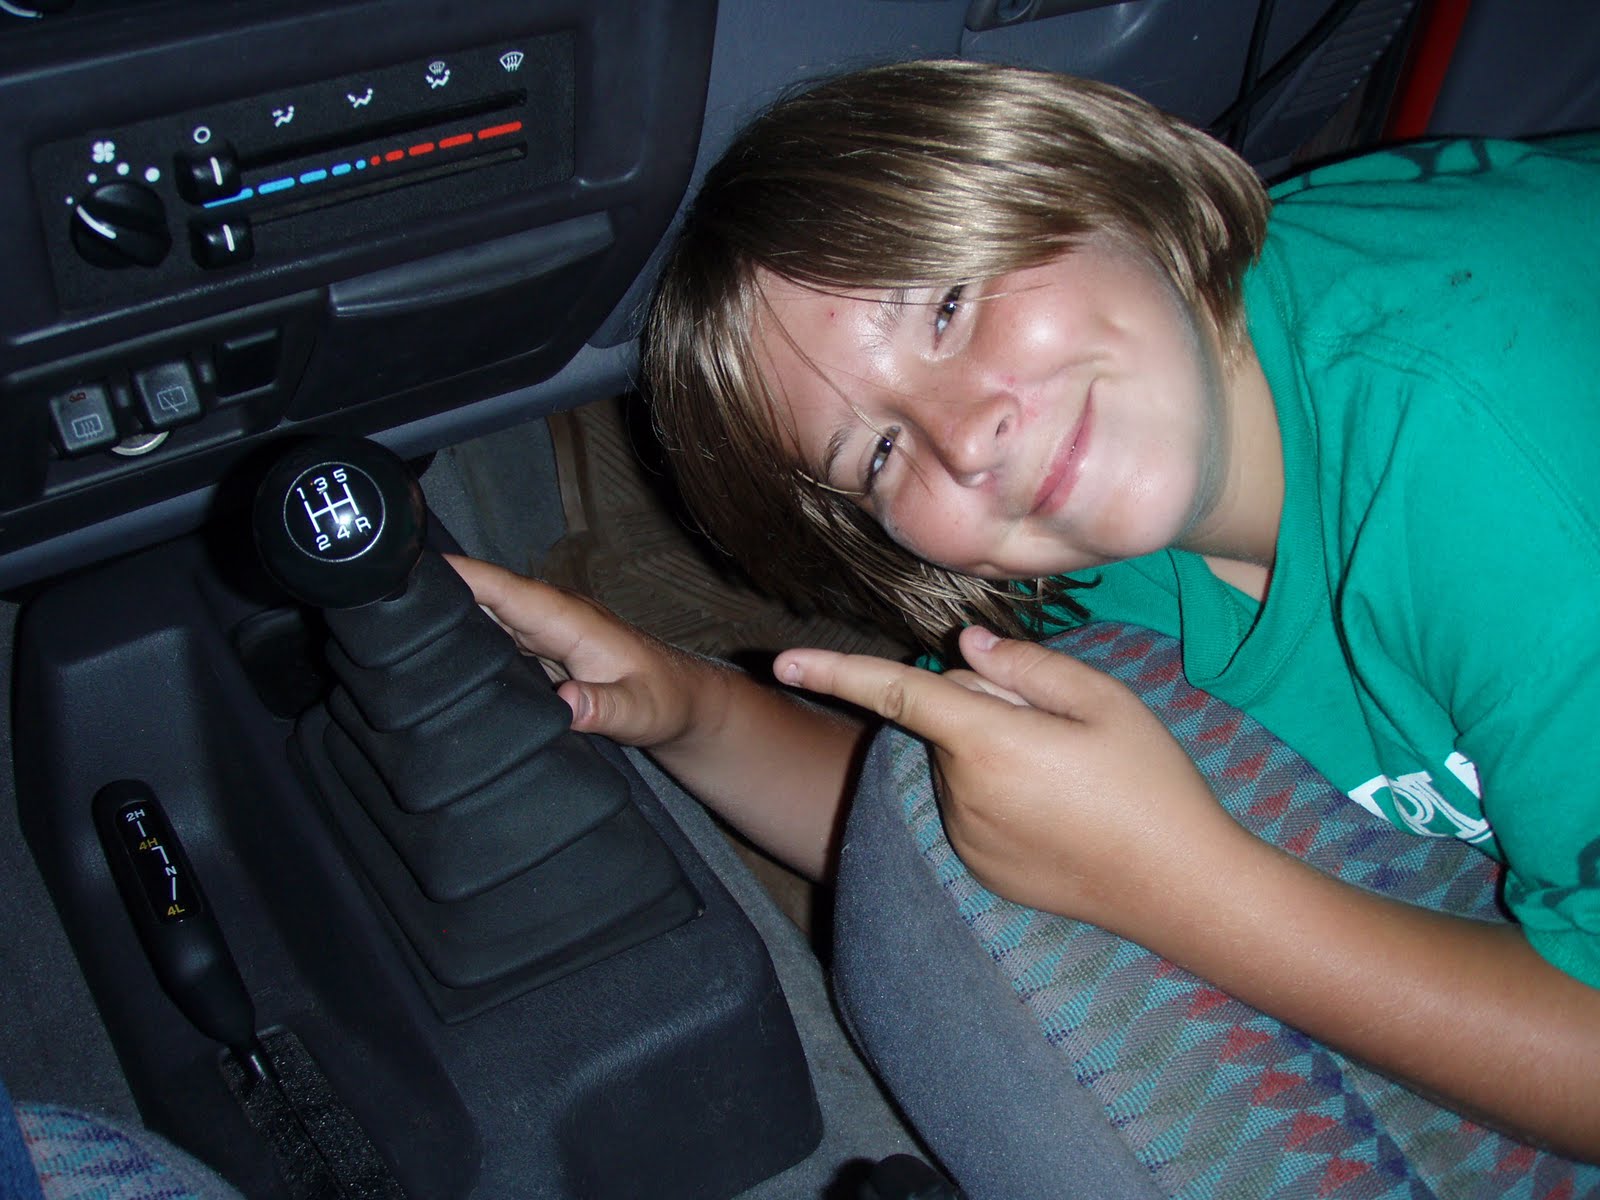
The other job was to reattach the shifter boot to the console. I imagine the old bracket must have broken so after a little investigation into the part required and 2 trips to the dealership (since even they were unclear which part it was) I ended up with a new shifter boot bezel. You can see in the pic's that Jason figured out how it went in and installed it without much difficulty.

Sunday, July 25, 2010

Going topless


One of the wonderful enduring features of the little Jeeps is their ability to shed their top and drive around topless. Although the top is easy to disconnect (6 bolts, 2 cam buckles, a wire harness plug and a washer fluid hose), it is somewhat awkward to handle and large to store. The boys really wanted to see it with the top off (as was I), but I wanted to be able to remove and reinstall the top with one person, as well as having a convienent place to store it. Since our garage has a 11' high ceiling, I thought hanging the top would be a great storage spot. As for removing it we welded up a "T" shaped lifting bracket that had hooks in each door opening and one at the rear when the rear window was open. We then fabricated up some pulleys to guide the steel cable from a small hoist I have, thus lifting the roof straight up. In the pictures you can see the snaking cable from the hoist to the hook with the red weight on it. These are shots of the initial and thus far only, lift we have done.
The lift worked perfectly, and should be able to drop it back on in a couple of minutes.

The Jeep is currently topless in the garage.

Leaky seals


Given the 265,000 km on the Jeep it was not surprising that the differential and transfer case seals were leaking, as evident by the oil and goop on both cases. So, we decided to remove the rear driveshaft, check the U-joints, and replace the rear pinion seal and the rear output shaft seal on the transfer case. Popping out the driveshaft was straight forward. You can see Jonathon wrestling out one of the U-joint caps on the rear U-joint. The front U-joint still looked and felt great so we left it in place. To replace the pinion seal you must first remove the yoke from the rear pinion shaft. Given the 1 1/8" nut holding the yoke was torqured to 200-300 lb/ft, it was quite the exersize in leverage to remove it. No picture, but you can imagine a very large pipe wrench on the yoke with a 3' pipe on the end, with Jason holding it against the frame. Then me with a 3' breaker bar on the nut and my leg pressing against the bar while holding the frame with my hands. But it did come off without much fan fare. Removing the old seals was slightly challenging as it involved chiselling the outside edge inward to provide access for a pair of vise grips to grab and pull it out. Once the seals were changed, including the o-ring on the speedometer pickup (no picture of that but it is the black and white thing with the wire on it next to the output shaft), we simply put the driveshaft back on. Of course that was after reinstalling the yoke and torqueing (sp?) the nut to ~220 lb/ft. You can see the before and after shots, along with the new and "removed" seals.


The pinion seal on the front diff is actually leaking worse, so hopefully we'll replace that next week.


Wednesday, June 30, 2010

Now for some paint


After all the mechanical work we have done we decided to put some time into the aesthetics of the Jeep. The first order of business was the rims. The boys decided that we should paint them black. So we removed the wheels, sanded off all the rust, masked off the tires and painted them gloss black. Then we masked off and painted the centre caps and finally Jason wanted some red striping on them, so he applied some pin strips to the wheels.


Next was the very faded fender flares. In order to paint the flares we had to mask off the entire Jeep to avoid any overspray. Once the Jeep was masked and the flares well cleaned they were painted with Krylon Fusion for Plastic paint. The results were very good.


The last piece of this appearance phase was the front bumper. We took it off, hammered, twisted and welded it straight. Then cleaned off the rust, removed the remaining "marshmellow" and painted it flat black (Plasticote T2 to be exact).


And finally the before and after photo's...

Friday, June 18, 2010

Continued.........


I seemed to have had a little issue posting pic's, but here are the old and new tranny mount photo's along with some of the tranny and transfer case oils.

After the trany and transfer case fluids were done we started on the diff's. Jason got right in there and removed both diff covers, helped clean off the old gasket material, then helped clean a paint the covers. He also reinstalled both.
Next we'll tell you about the wheels.............

Maintenence - Lube etc.

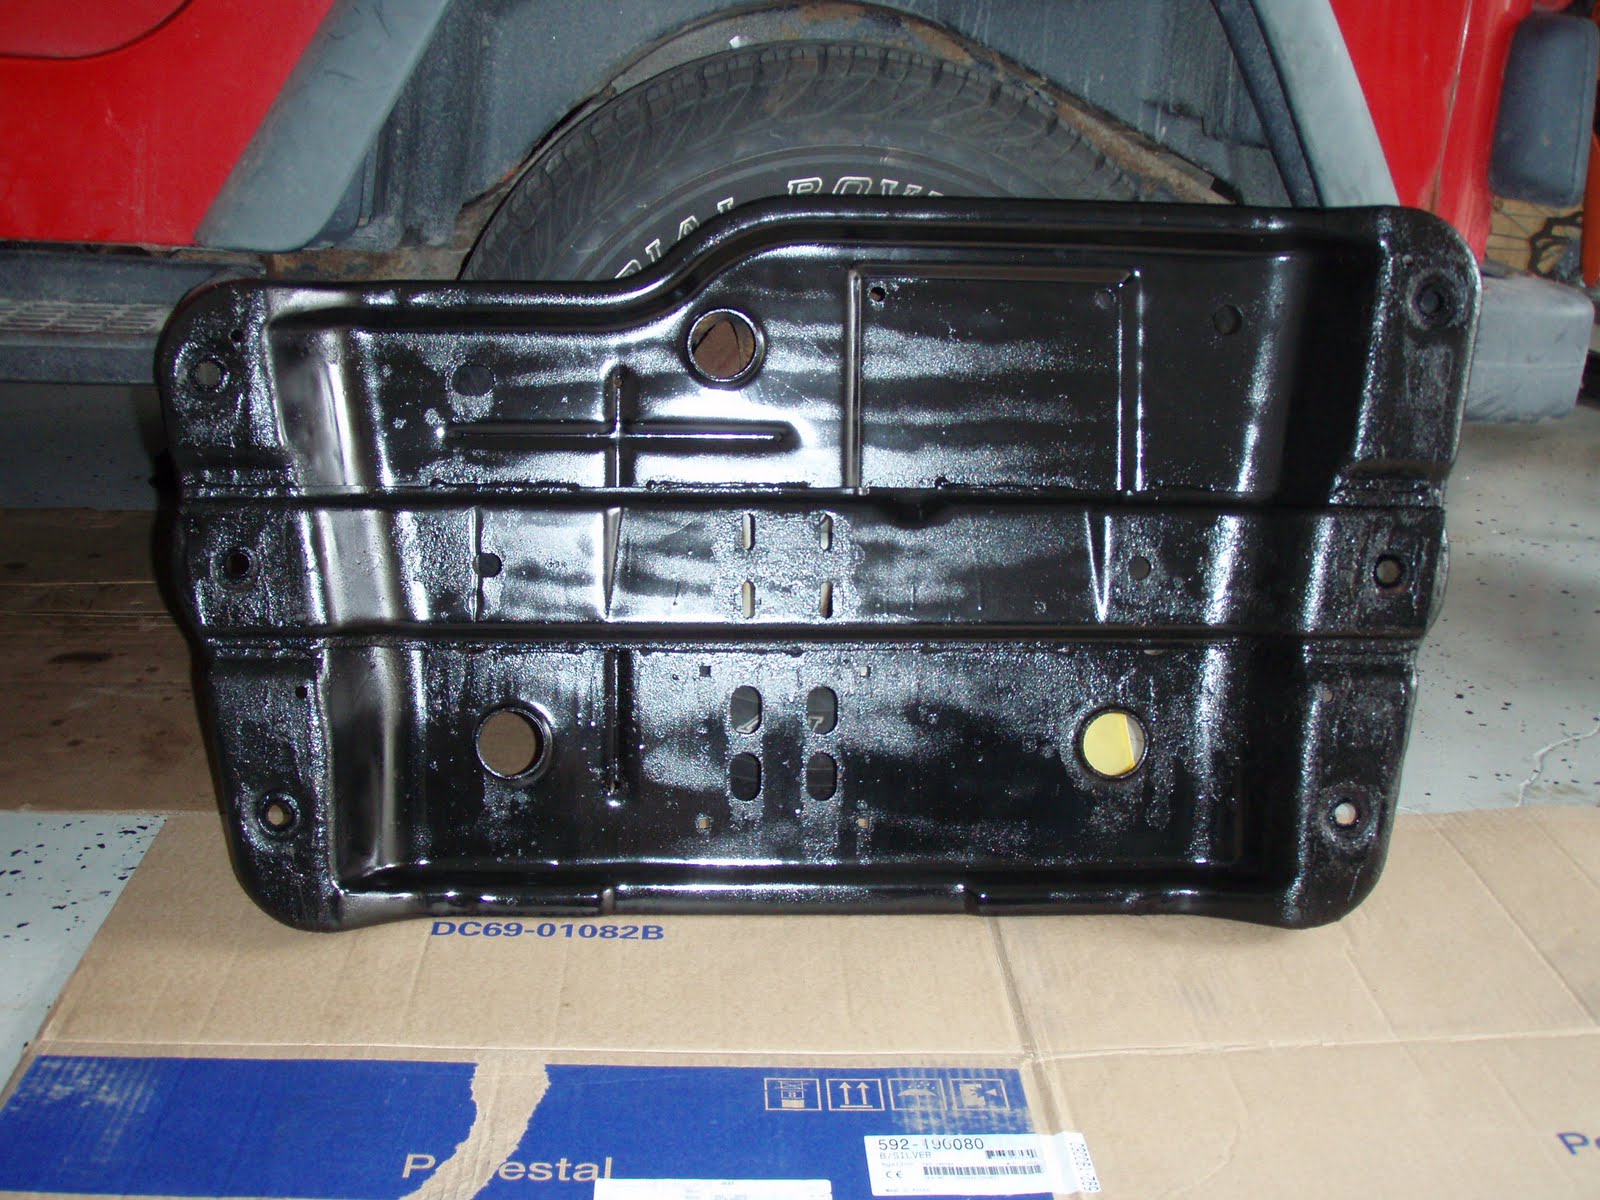
Well after a nice little break, it was time to do a few maintenence items on the Jeep. First of all we stripped 3 of the 6 "nutserts" in the frame holding the transmission skidplate (crossmember), when we did the brake line work. So in order to cut, air chisel and grind the old ones out we needed to jack up the Jeep and remove the skid plate. Once it was off, we decided to clean off the rust, grease and dirt and paint it up. Looks better doesn't it?


Turns out we had to order new nutserts which took a week. So, while the Jeep was in the air we decided to change the transfer case oil, the transmission oil, and the gear lube in both the front and rear differentials. We also replaced the transmission mount since the old one had completely separated. In the picture you can see the gap between the rubber and the metal piece...they shoud be attached. Hopefully this will elimitate some of the clunking when you move off.

Tuesday, June 1, 2010

Safety: Take Three

After fixing the hole in the exhaust I went back to CT on Thursday May 27 for what I thought would be the final check. The mechanic lifted the Jeep up looked around with the engine running, then started looking toward the middle and rear of the exhaust system. Finally he called me out to explain that the leak was mostly gone, however he found a small tear in the main exhaust pipe where one of the hangers was welded on. He said he could not safety it with that hole, but suggest I could get an exhaust shop to weld it quickly. Although I had already used up my alloted re-check for the safety, the mechanic implied if I came back soon he would check it again.

So, home we went to try and weld it ourselves, with the nice Lincoln Electric welder I purchased in Jan, in anticipation of welding on the Jeep. At home we discovered that the rip was on top of the skid plate that holds up the transmission. So the skid plate had to come off first. Jason helped me jack up the Jeep and secure it on stands, then secure the tranny on a stand, then remove the large skid plate from the tranny and frame. Once the rip was cleaned up I got out the welder. Only then did I realize the welder cord and gun were 3' too short. Damm. Being 31c outside and under the gun for time, I was not happy. We had to reinstall the skid place, lower the vehicle, back it up 4', rejack it up, remove skid plate etc. Then I had a chance to weld and it turned out quite nice. Finished welding, put the Jeep back together and headed back to CT.

Finally the mechanic was happy and passed the Jeep. The next day I transfered the ownership, got a new plate and insurance. Then the boys and I tried out the Jeep on a real ride to Charles' and then to the YMCA to pick up Jason from TKD.

Now I'm taking a little break before we tackle the broken nutserts on the frame........